Adding G2 Badges and Star Rating widgets to HubSpot emails enables you to highlight your G2 reviews and drive review generation efforts.
Before getting started
Before proceeding with the following steps, make sure you have the embed code for the G2 Badge or Star Rating widget you want to add to your email.
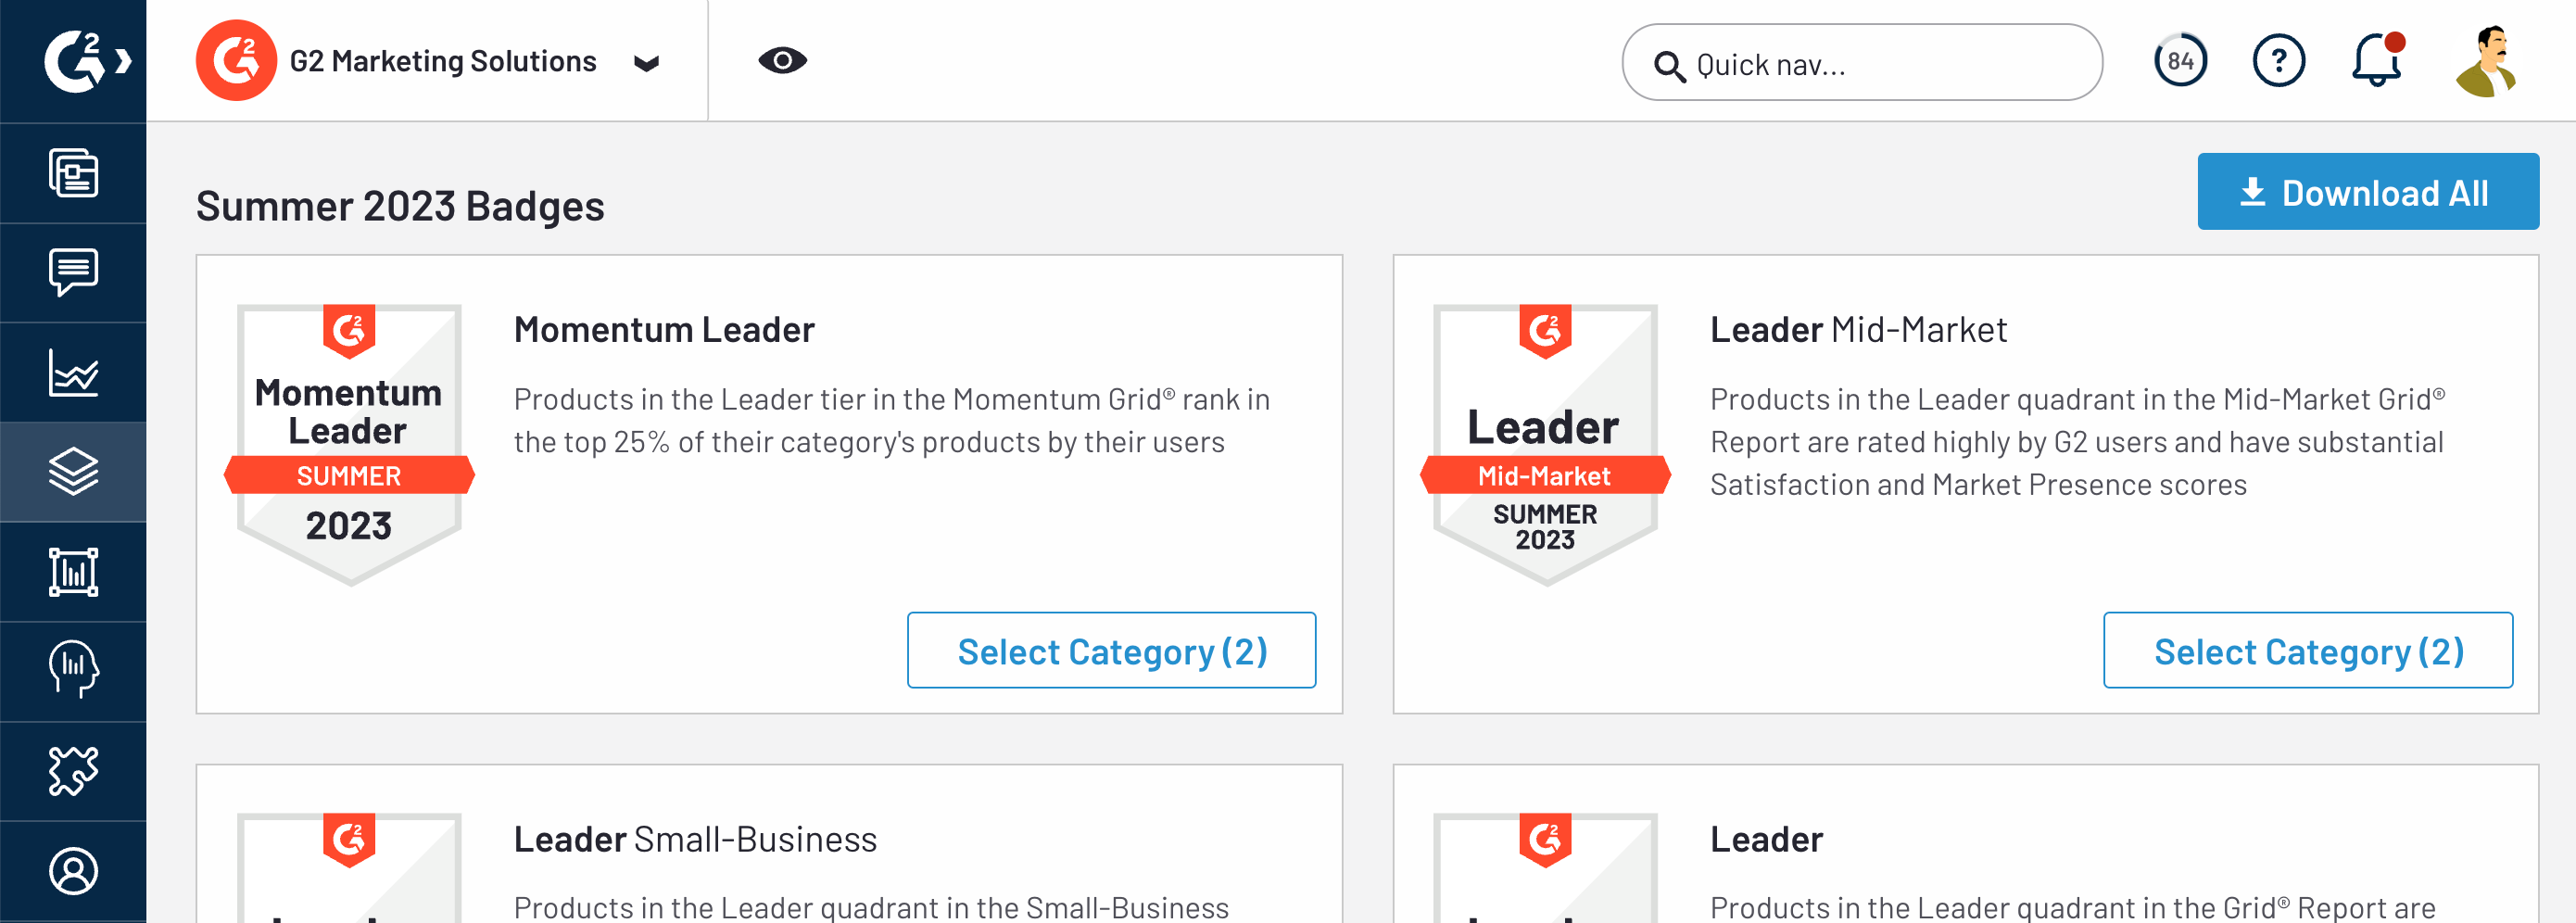
To access G2 Badge embed codes, go to my.G2, then Marketing Content > G2 Badges.
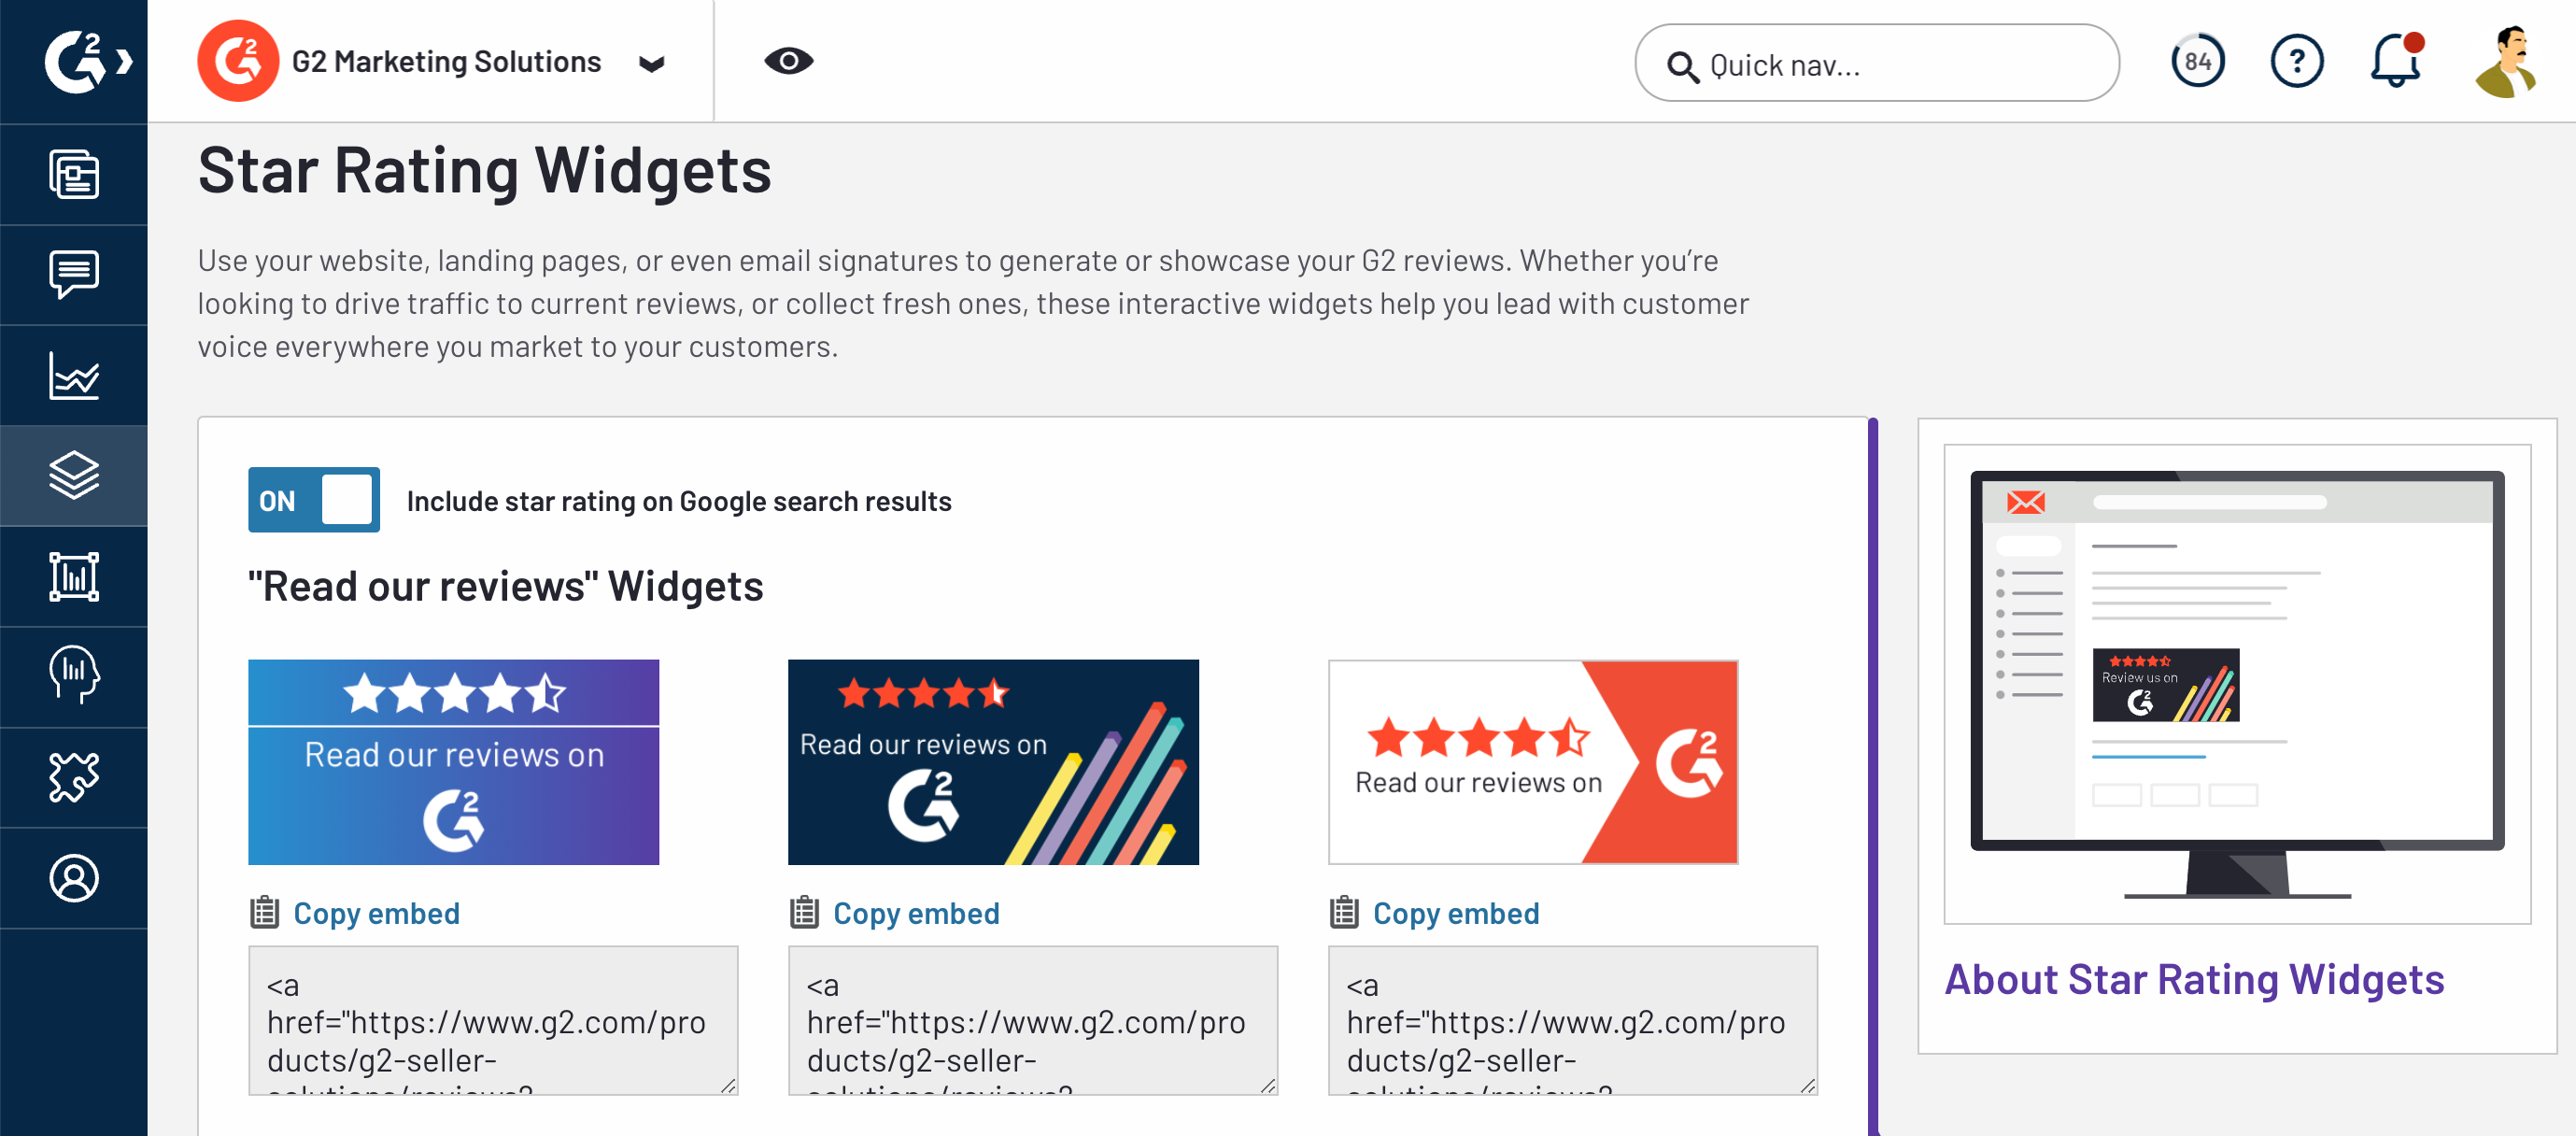
To access Star Rating widget embed codes, go to my.G2, then Marketing Content > Widgets > Star Rating Widget.
Embedding G2 marketing content in Hubspot emails
To add G2 Badges or Star Rating widget to HubSpot emails:
- Log in to HubSpot, then navigate to Marketing > Email.
- Select Create email, then choose an email type and template.
- From the Content tab, select More, then select and drag the HTML - Email module into your email layout.
If using a custom email template, you must navigate to Advanced > Source Code instead.
- Paste the embed code you copied from my.G2 into the HTML editor. Your email preview will update immediately.