Review Campaign Dashboard enables you to track review performance, monitor active campaigns, and create new campaigns.

You can track both G2-managed and self-managed review campaigns from this page. For more information on G2-managed campaigns, refer to Self-Service Review Campaigns documentation. For more information on self-managed campaigns, contact your G2 representative.
To access the Campaign Dashboard, go to my.G2, then select Reviews > Campaigns.
Basics of Review Campaign Dashboard
Campaign analytics
Use the dashboard to analyze performance, filter campaign data, and manage campaigns from a single view.
To get started, select a time interval and campaign from the filter panel.

Select each of the tabs to learn more about your campaign performance. For example, the Top UTM by Review Count panel in the Total Campaign Reviews tab shows the top five campaigns by review count based on the UTM parameters added to your review form URL.
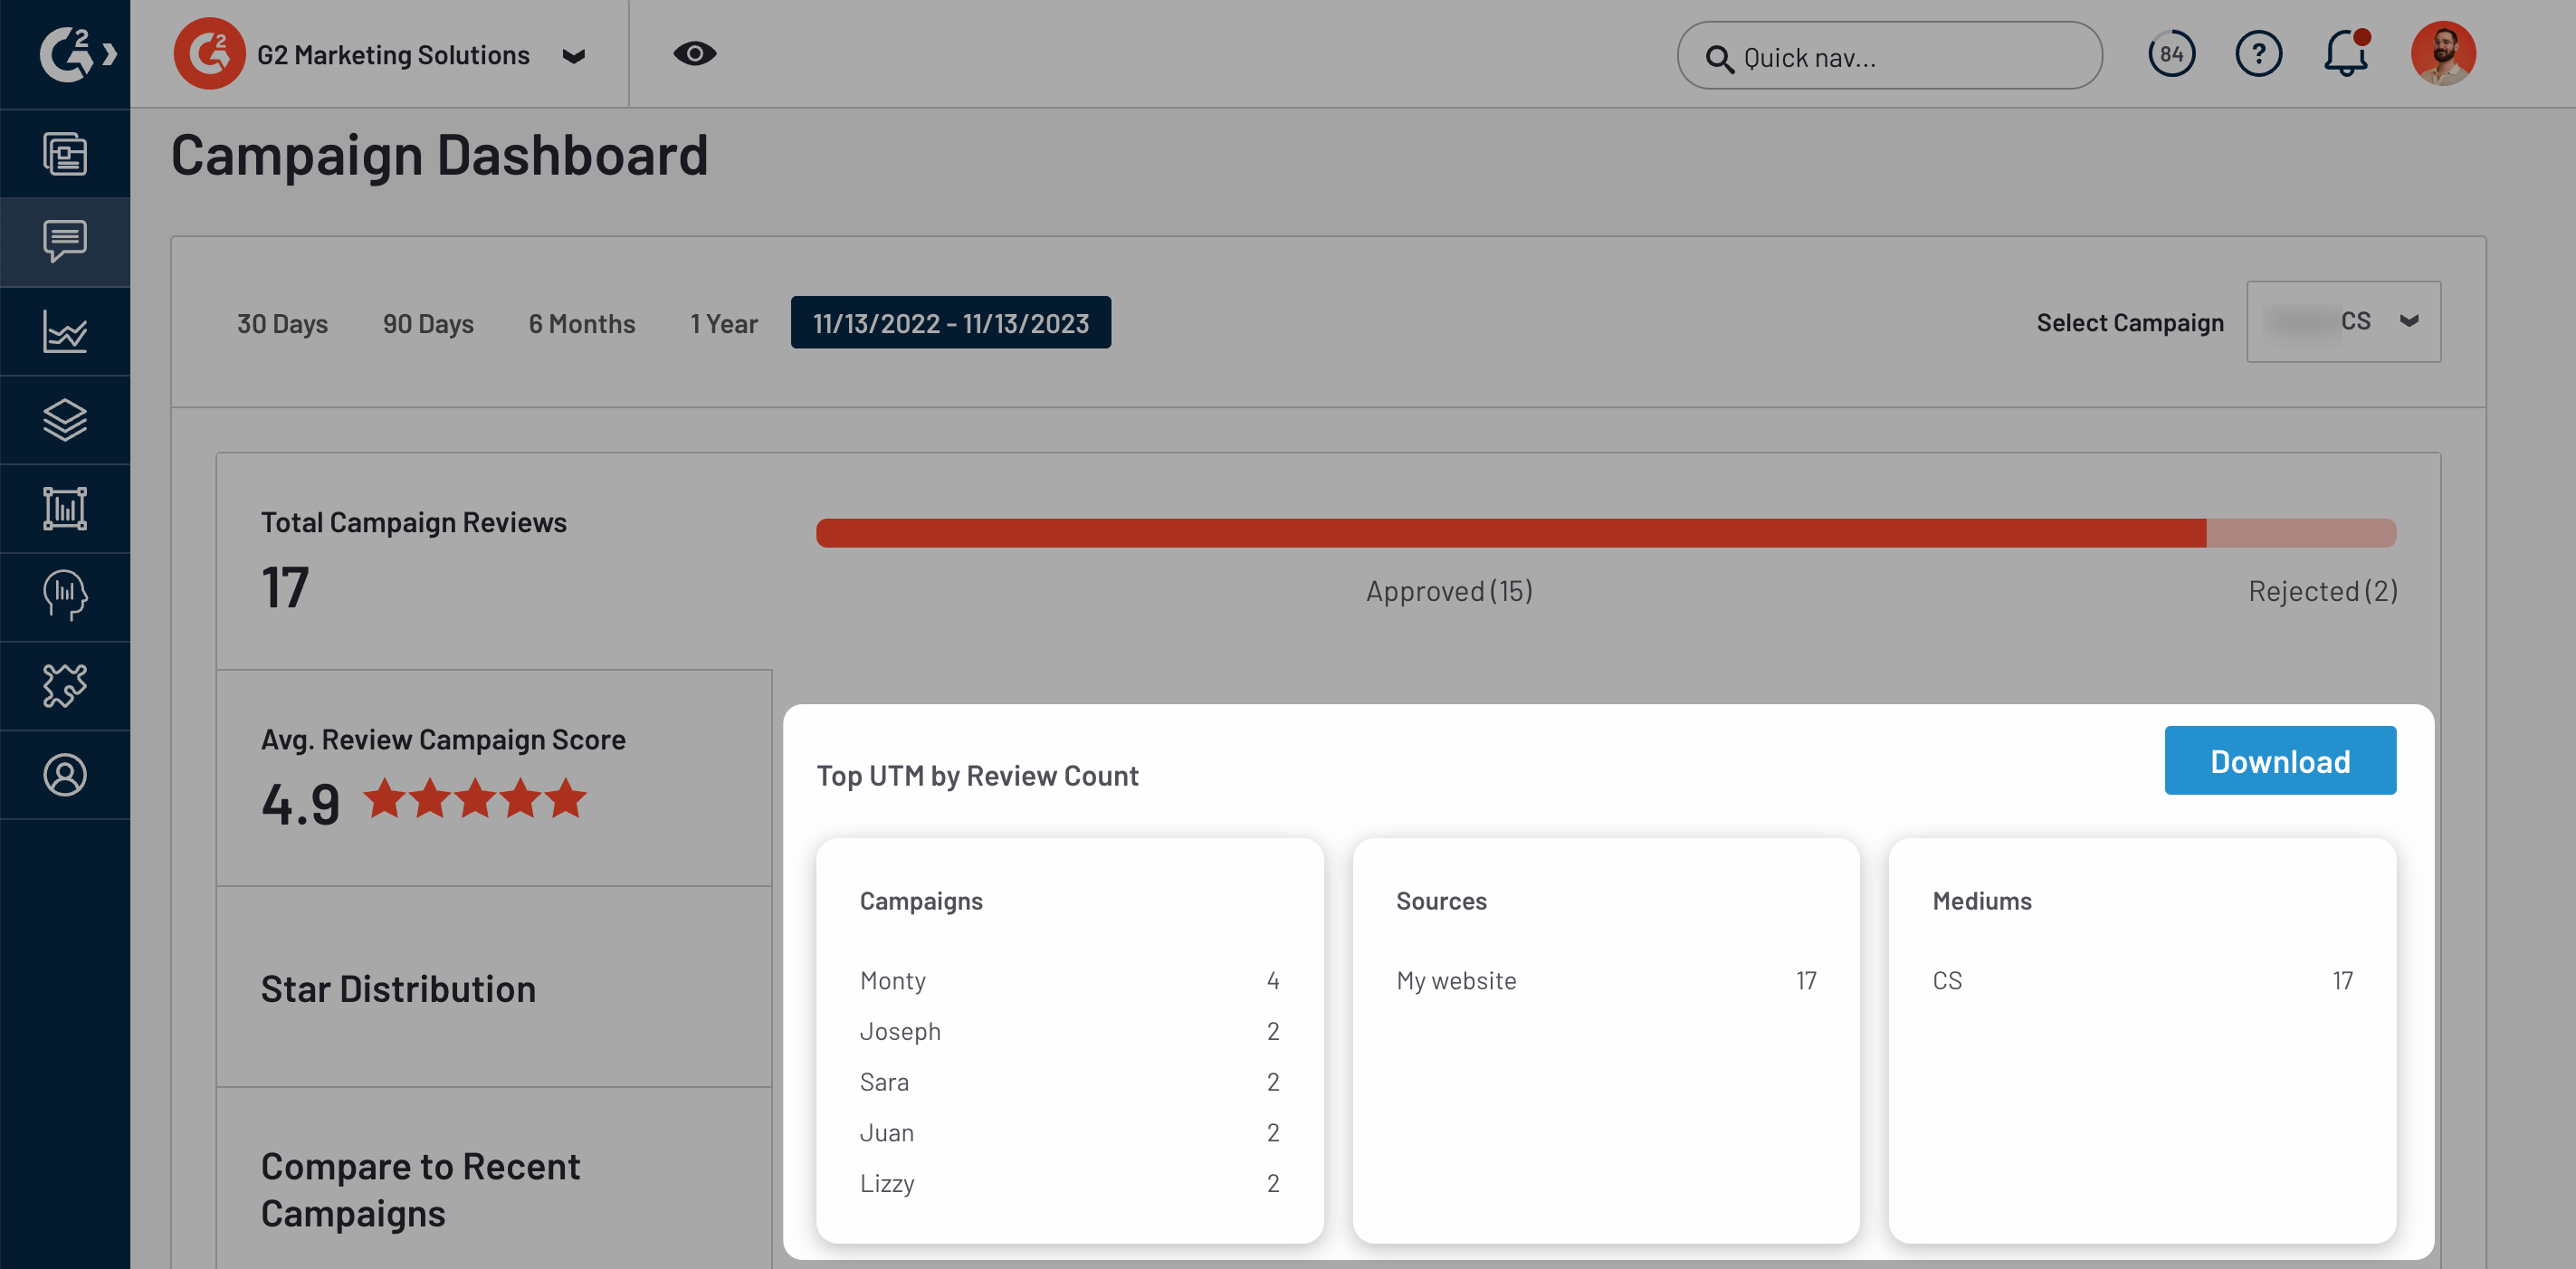
If no data appears, verify that the selected campaign has activity within the chosen date range.
Creating and managing campaigns
Create a new review campaign directly from the dashboard by selecting Create Campaign.

For more details about creating a review campaigns, refer to the Self-Service Review Campaigns documentation.
Use the Your Campaigns table to monitor and update campaigns.

The table includes the following columns:
| Column | Description |
|---|---|
| Campaign title | Name of the campaign |
| Incentivized | Indicates whether incentives are enabled |
| Incentive Amount | Reward value per review |
| Campaign Type | Campaign type, such as Vendor Led, Email Campaign, Self-Serve Event, Review Refresh, or In-App |
| Review Goal | Controls how long a campaign runs and how many reviews it collects. Fixed goals stop after reaching the target number of approved reviews. Unlimited goals continue running until manually stopped, and charges continue based on your selected payment method. |
| Landing Page | Link to preview the campaign |
| Status | Current campaign state |
| Action | Select Edit to update a campaign, or Checkout to complete setup for a draft campaign |
Select Edit to update a campaign.
Managing campaign funds
Choose how to pay for incentivized campaigns during campaign creation or maintain a credit balance for future use.

When creating a campaign, select a payment method:
- Invoice Me
- A saved credit card, or Add Credit Card to add a new one
You need a credit card on file before you can select Invoice Me. If you select Invoice Me, the campaign cost is billed to your monthly invoice. If you select a credit card, the charge is processed immediately.
To view your available balances, go to my.G2, then select your avatar in the upper-right corner > Payments & Billing History. In the Profile & Reviews panel, select View Details.

You can purchase credits at any time. Credits are a prepaid balance used to fund gift card incentives for review campaigns.
To purchase credits:
- Go to my.G2, then select your avatar in the upper-right corner > Payments & Billing History.
- In the Profile & Reviews panel, select View Details.
- In the Add Credits panel, select Add Credits.
- Under Payment Method, select a saved card, or select Add Credit Card to add a new one.
- Enter an Amount from $10 to $5,000.
- Select Purchase Now.
The amount is added to your credit balance and can be used for future campaigns. You can make up to three transactions per day.
G2 accepts the following payment methods:
Visa, Mastercard, American Express, Discover, JCB, Diners, UnionPay
Payments are processed by a third party. G2 does not store payment information. To support PCI DSS compliance, G2 completes a PCI Self-Assessment Questionnaire (SAQ), available upon request.