Self-Service Review Campaigns enable you to collect G2 reviews by sending outreach directly to your users while managing incentives and billing within my.G2.
If you're collecting reviews at a live event like a conference, trade show, or user group, use Self-Serve Events instead. Self-Serve Events generate a QR code your attendees scan on the spot, with no email list required.
Basics of Self-Service Review Campaigns
Each campaign includes a branded review landing page that generates automatically after setup.
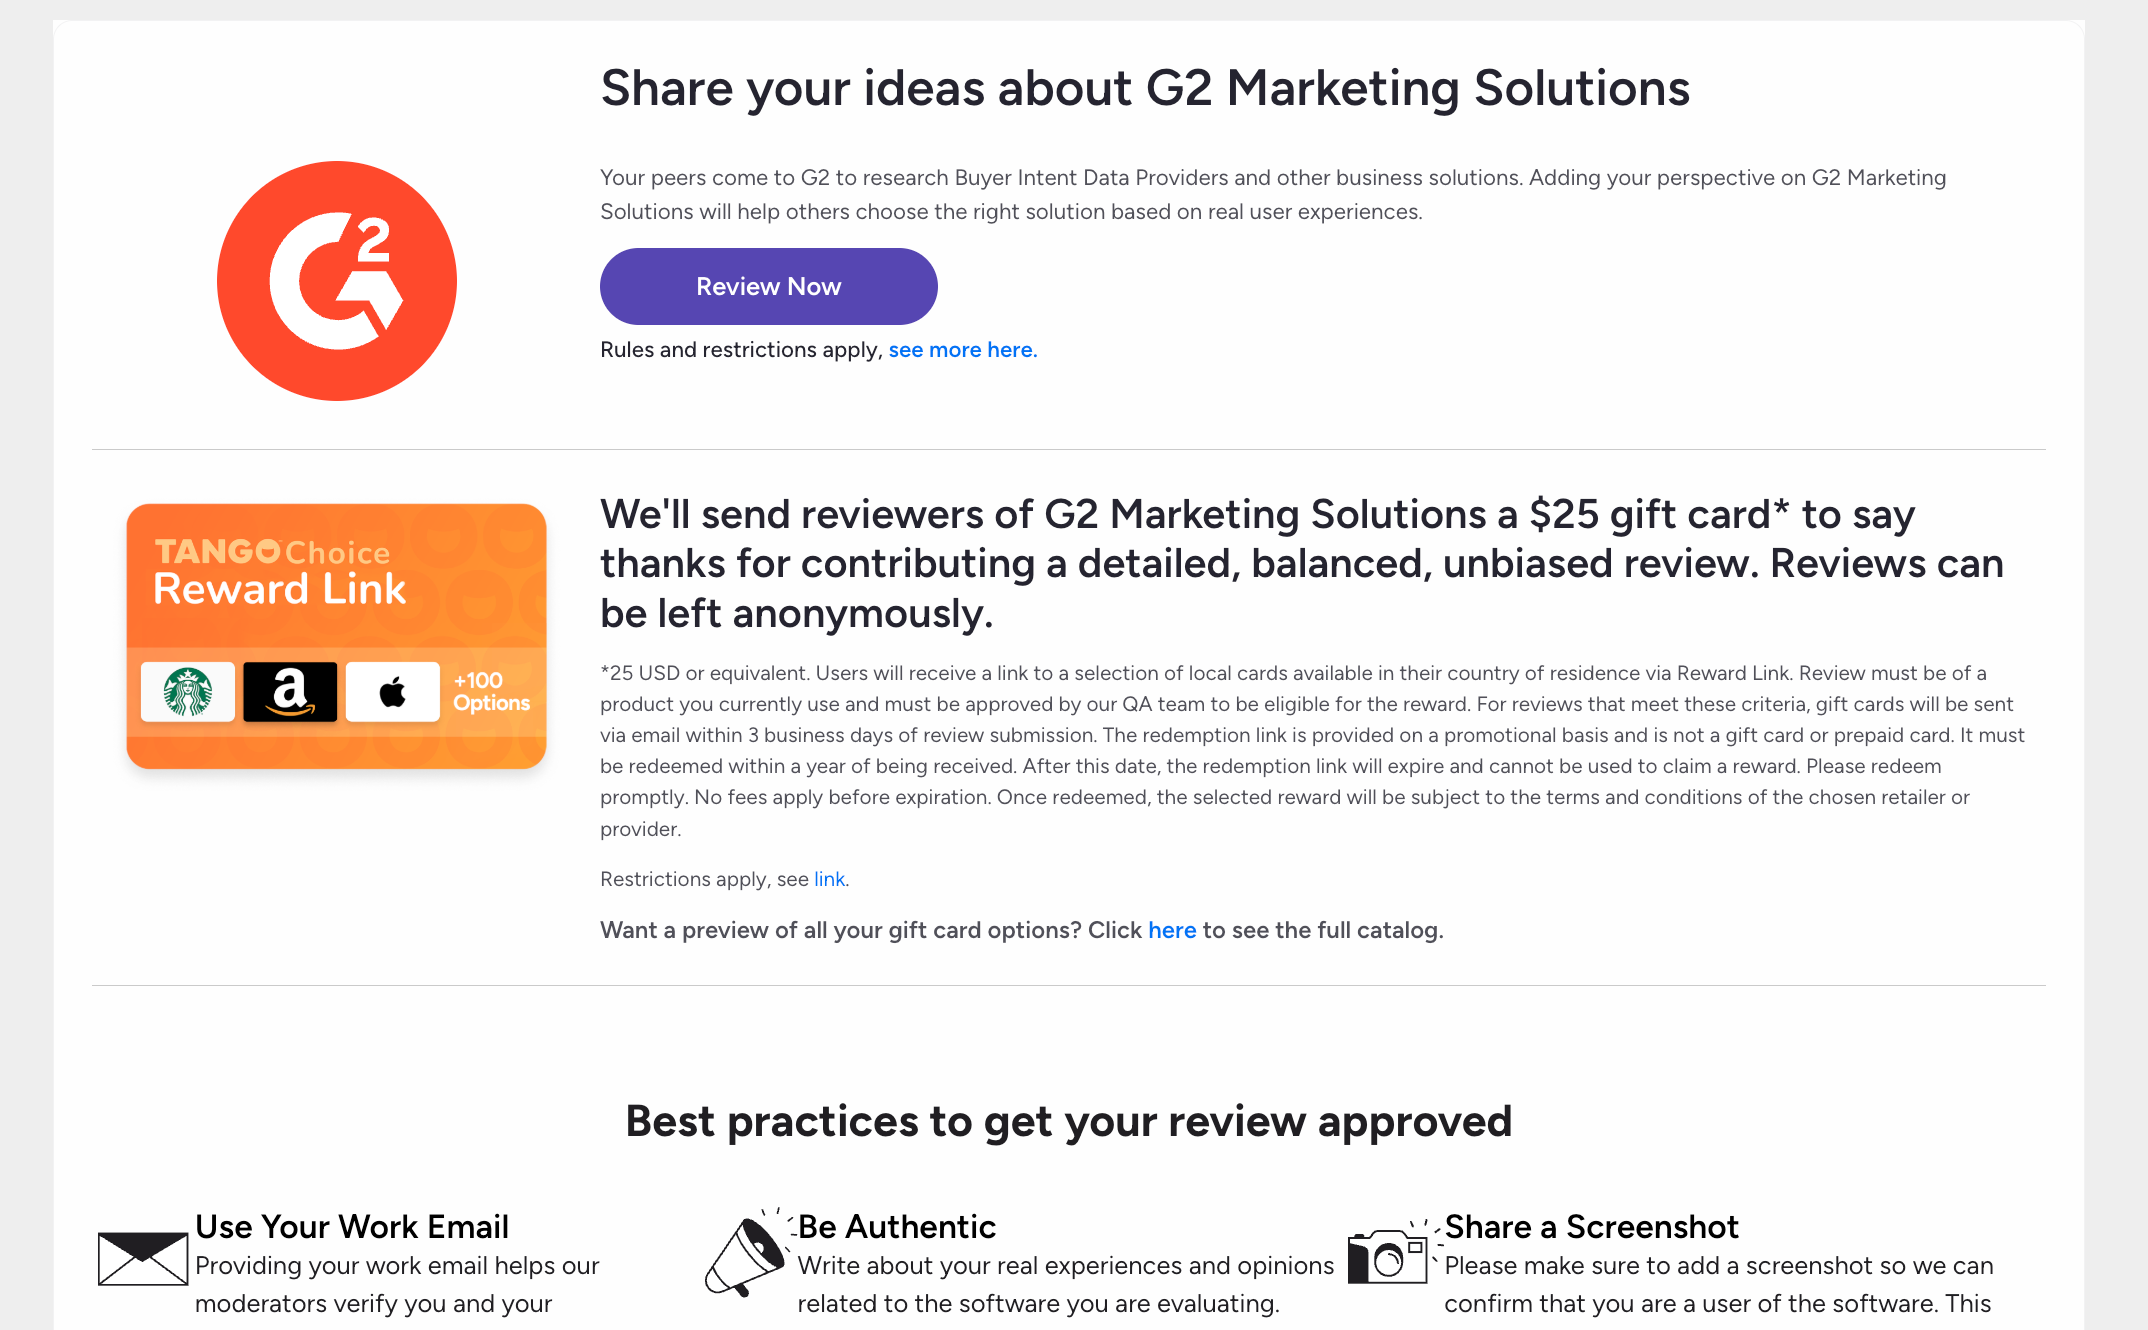
You can share the landing page link directly with your audience or select G2 sends outreach to have G2 distribute review invitations. When G2 sends outreach, reviewers receive up to three emails: one initial invitation and two reminders.
Review credits and billing
Incentivized campaigns are billed only for reviews that pass moderation and are marked as approved. Rejected or pending reviews do not generate charges.
Each approved review is billed based on the selected incentive amount and appears on your monthly invoice.
A credit card is required to activate an incentivized campaign. The card provides coverage for potential overages.
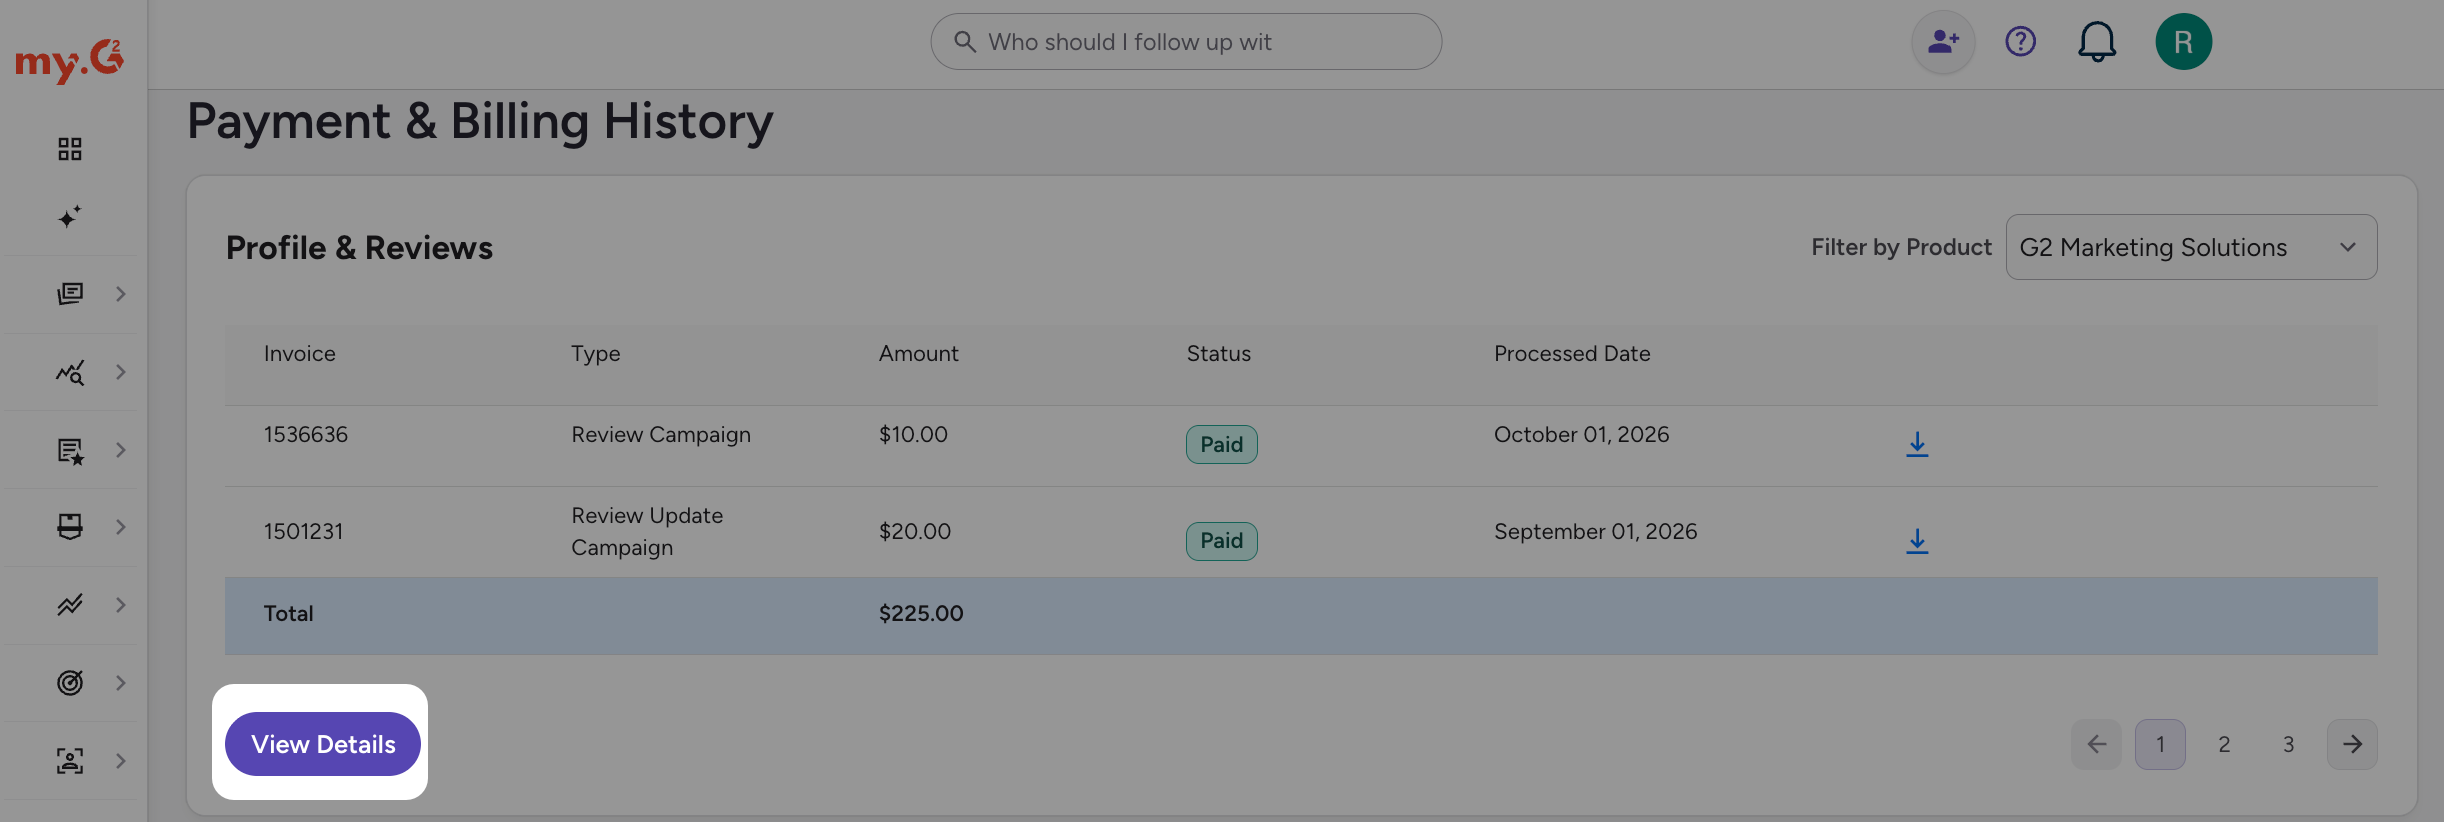
If your account includes available review credits, charges are applied to those credits first. Once credits are exhausted, remaining charges are billed to the credit card on file.
To view credits, charges, and payment methods, go to my.G2, then select your avatar in the upper-right corner > Payments & Billing History.
In the Profile & Reviews panel, select View Details.
Creating a campaign
Use the self-service form to create an incentivized or non-incentivized review campaign landing page.
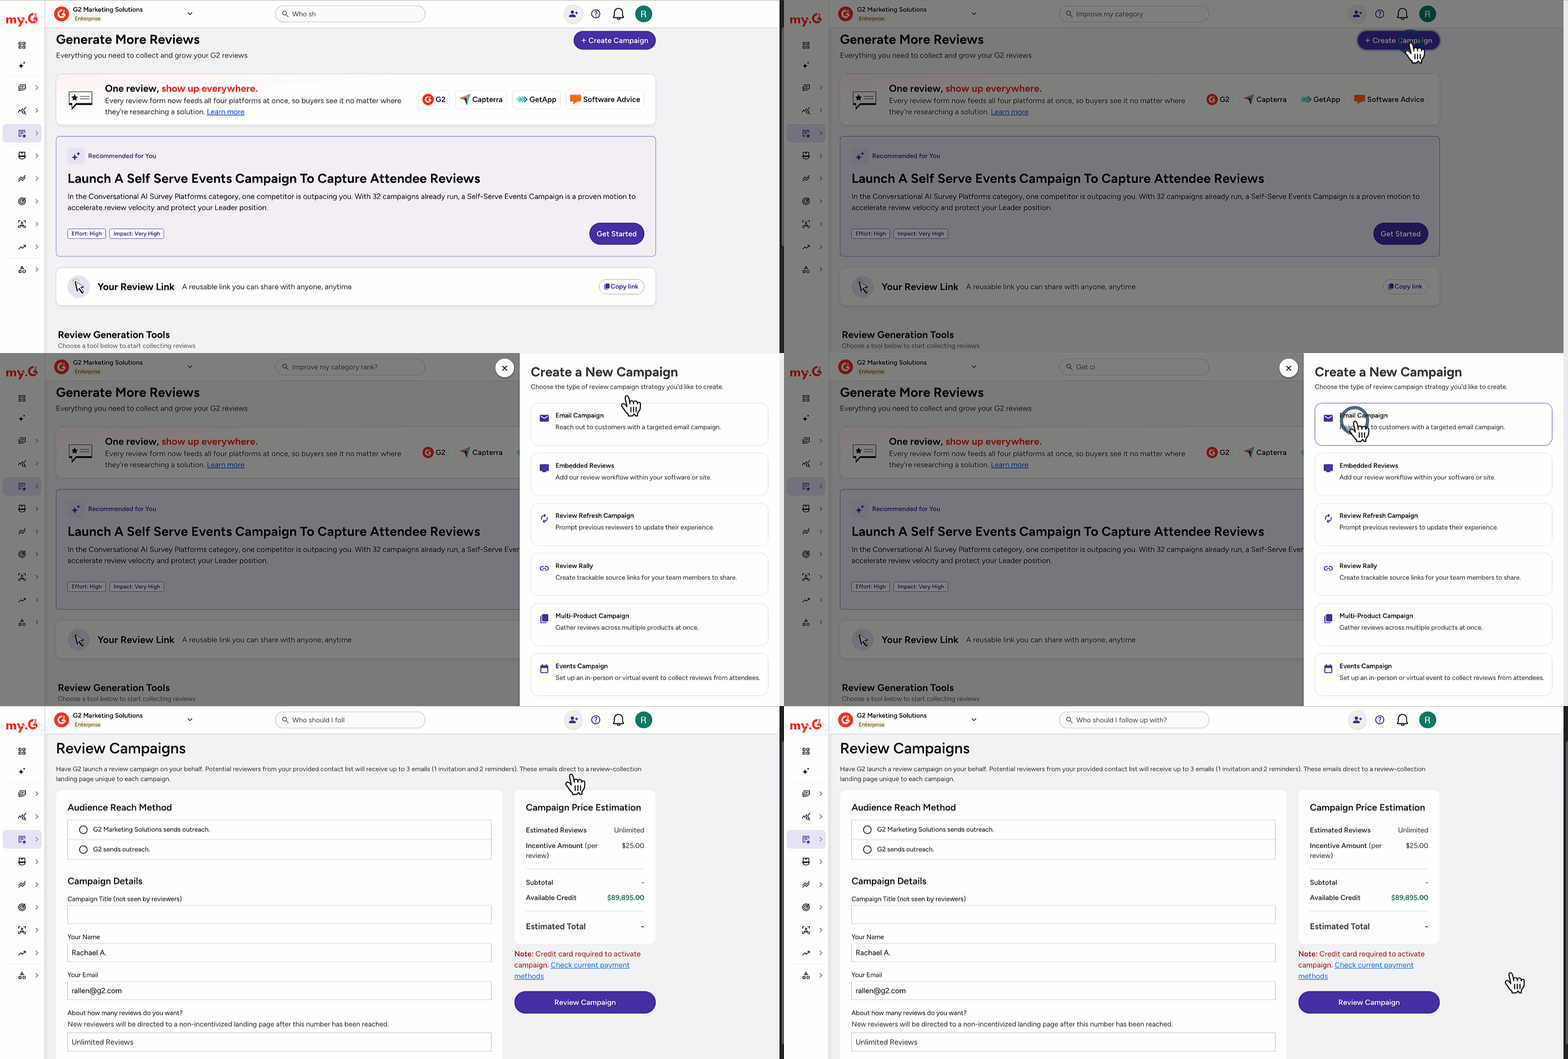
To create a review campaign:
-
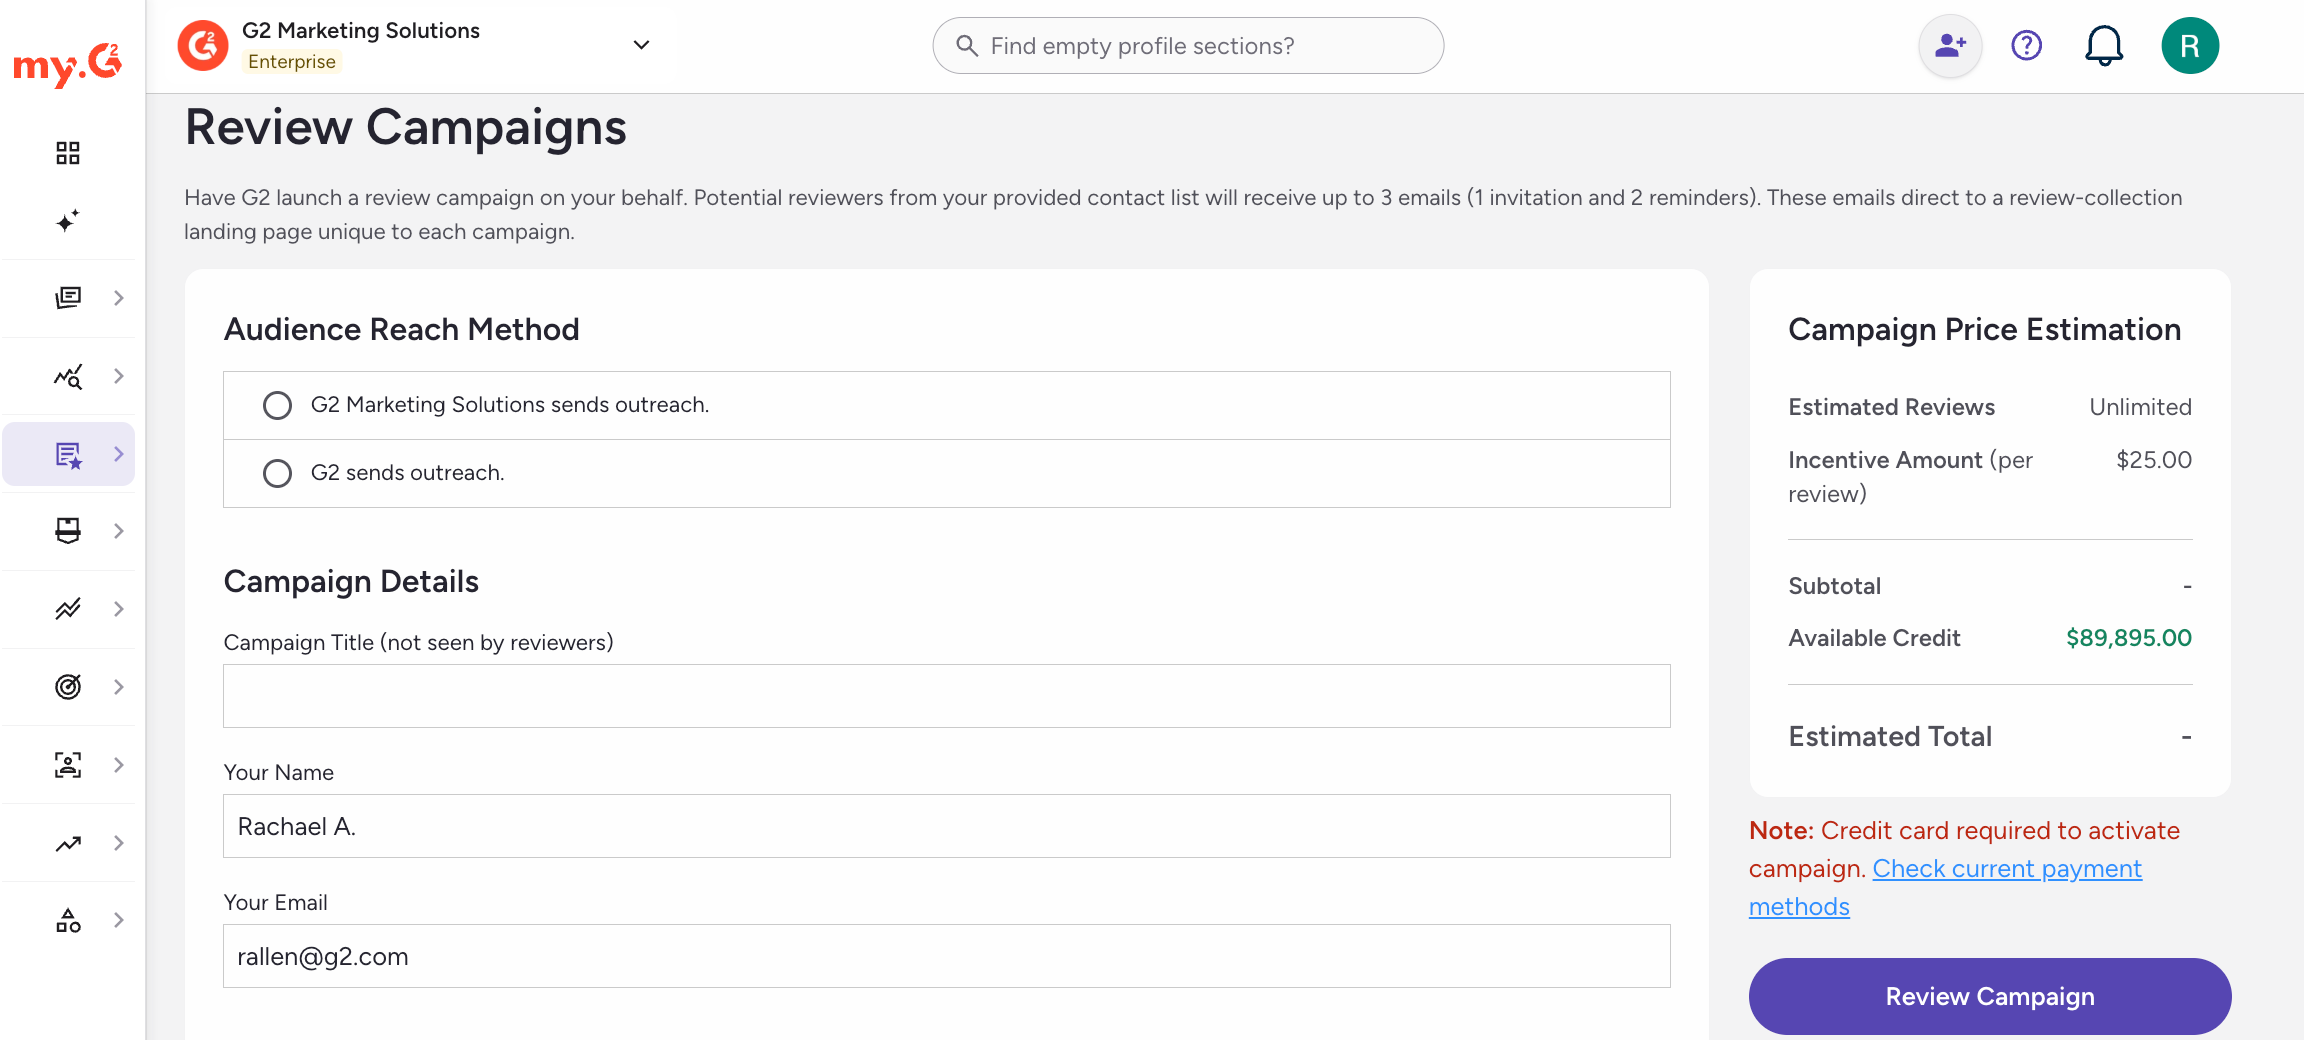
Go to my.G2, then select Reviews > Collect Reviews. Select Create Campaign, then select Email Campaign.
-
Under Audience Reach Method, select one of the following:
{your product name}sends outreach: You distribute the landing page link directly. The landing page link is active once the campaign is funded, regardless of any auto-generated start date shown in the form.- G2 sends outreach: Specify the Desired Start Date and Primary Location/Time Zone of Reviewers. Under Audience Source, select From CRM to import your contacts from HubSpot, or select From CSV to upload your customer contact list. G2 doesn't send to people who have previously left a review, or to Gmail, Googlemail, Yahoo, or Ymail addresses.
-
In Campaign Details, enter a Campaign Title, Your Name, and Your Email, then enter a review goal or choose Unlimited Reviews.
If you select Unlimited Reviews, the campaign continues issuing incentives for approved reviews while funding remains available. There is no predefined cap on the number of incentivized reviews.
Use this option if you plan to reuse the landing page link for ongoing review collection without adjusting your review goal.
-
(Optional) Under Select target categories, choose up to three categories. Reviewers see these categories pre-selected, which helps you direct reviews toward them.
-
(Optional) Under Review Updates, select Include Review Updates to invite people who already reviewed your product to refresh their review for an incentive. These updates use your active Review Refresh budget. For more information, refer to Review Refresh.
-
Under Campaign Incentive Status, select one of the following:
- Incentivized to offer a reward.
- Non-Incentivized to collect reviews without a reward.
-
If you selected Incentivized, choose a Gift Card Type and enter the Individual Gift Card Amount (USD).
-
Review the Campaign Price Estimation panel to confirm estimated totals and available credit.
-
Select Review Campaign.
A confirmation page displays your campaign details, including Review Goal, Timing, Incentivization, Audience, and Campaign Price Estimation. Review each section carefully before scheduling.

To complete setup, select a Payment Method, then select Schedule Campaign. Choose Invoice Me or a card on file. To add a card, select Add Credit Card.
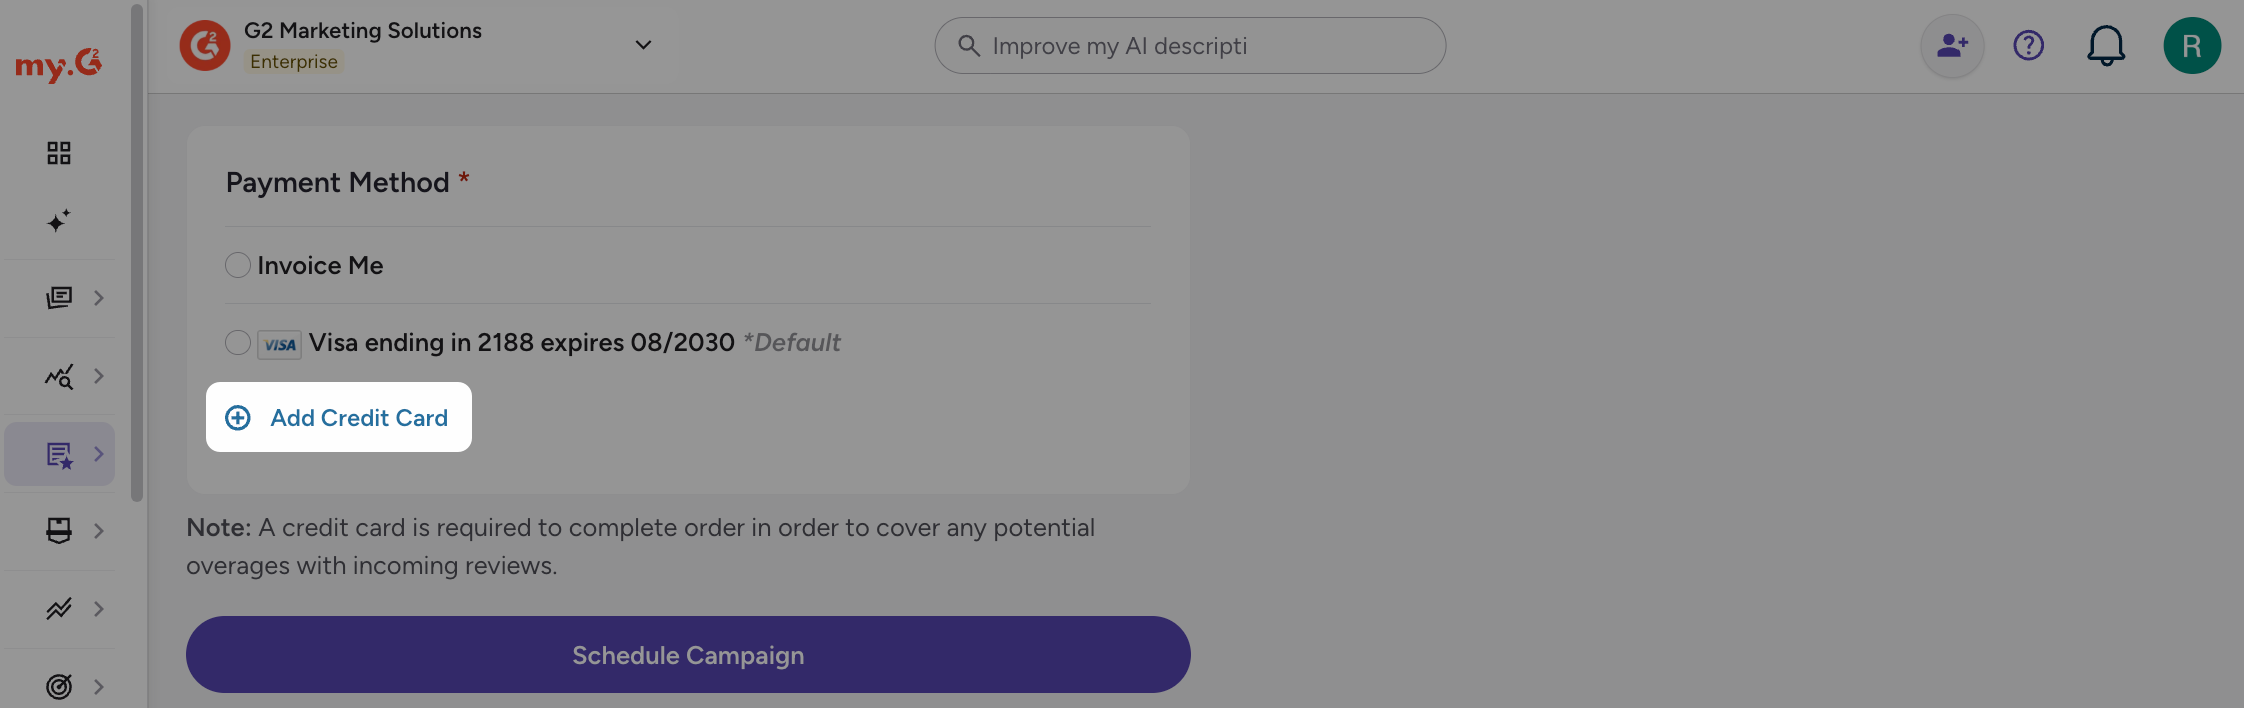
A credit card is required to complete the order to cover potential overages from incoming reviews.
Monitoring campaign performance
Campaigns appear in the Review Campaign Dashboard in the Your Campaigns panel.
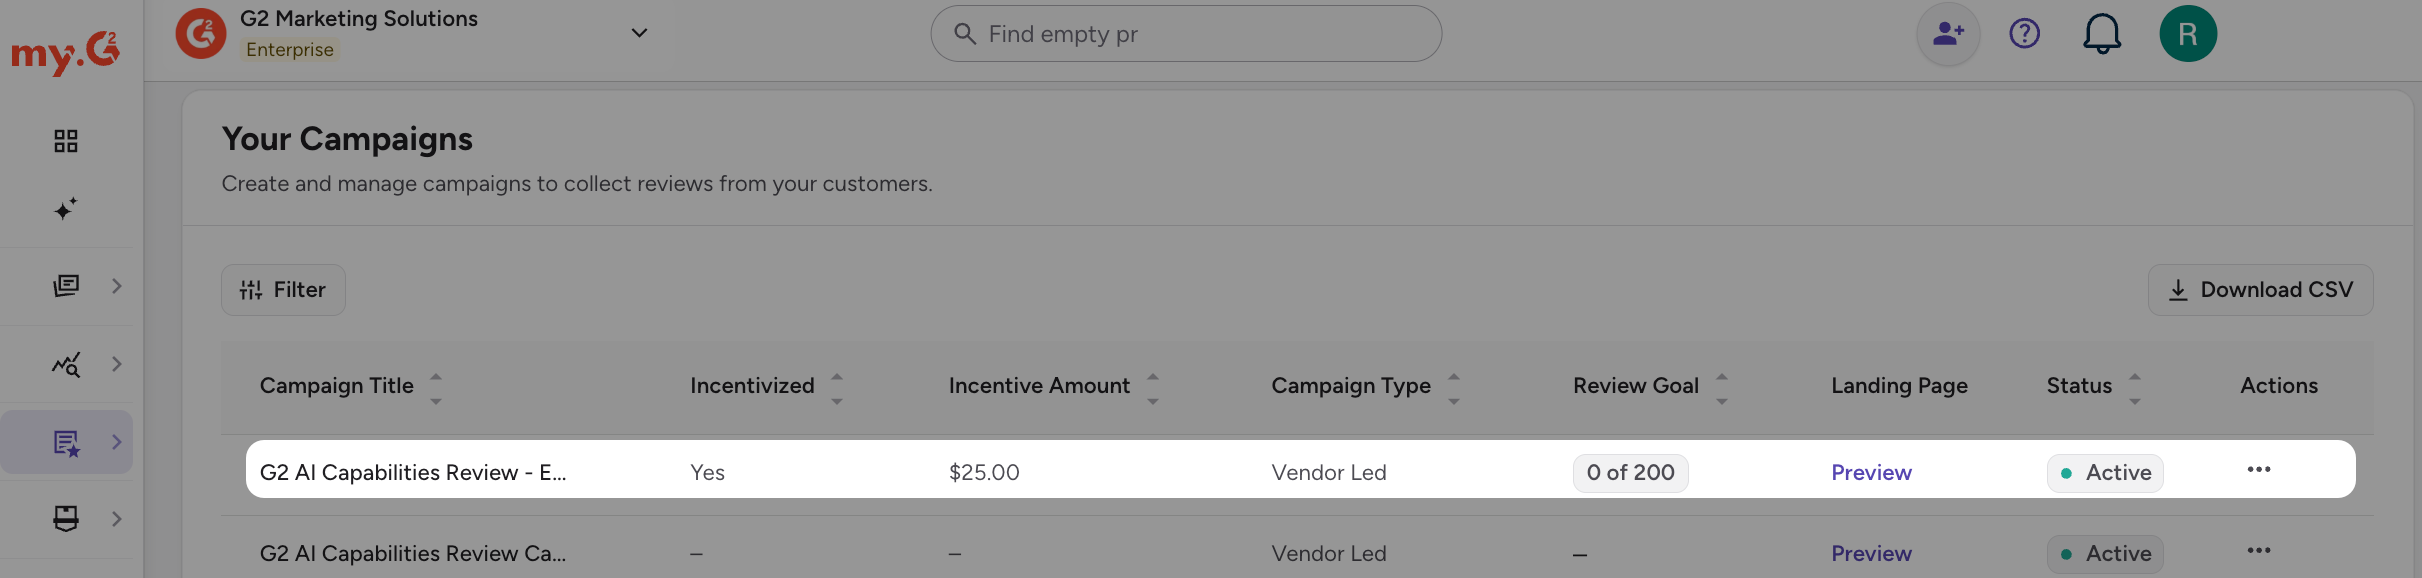
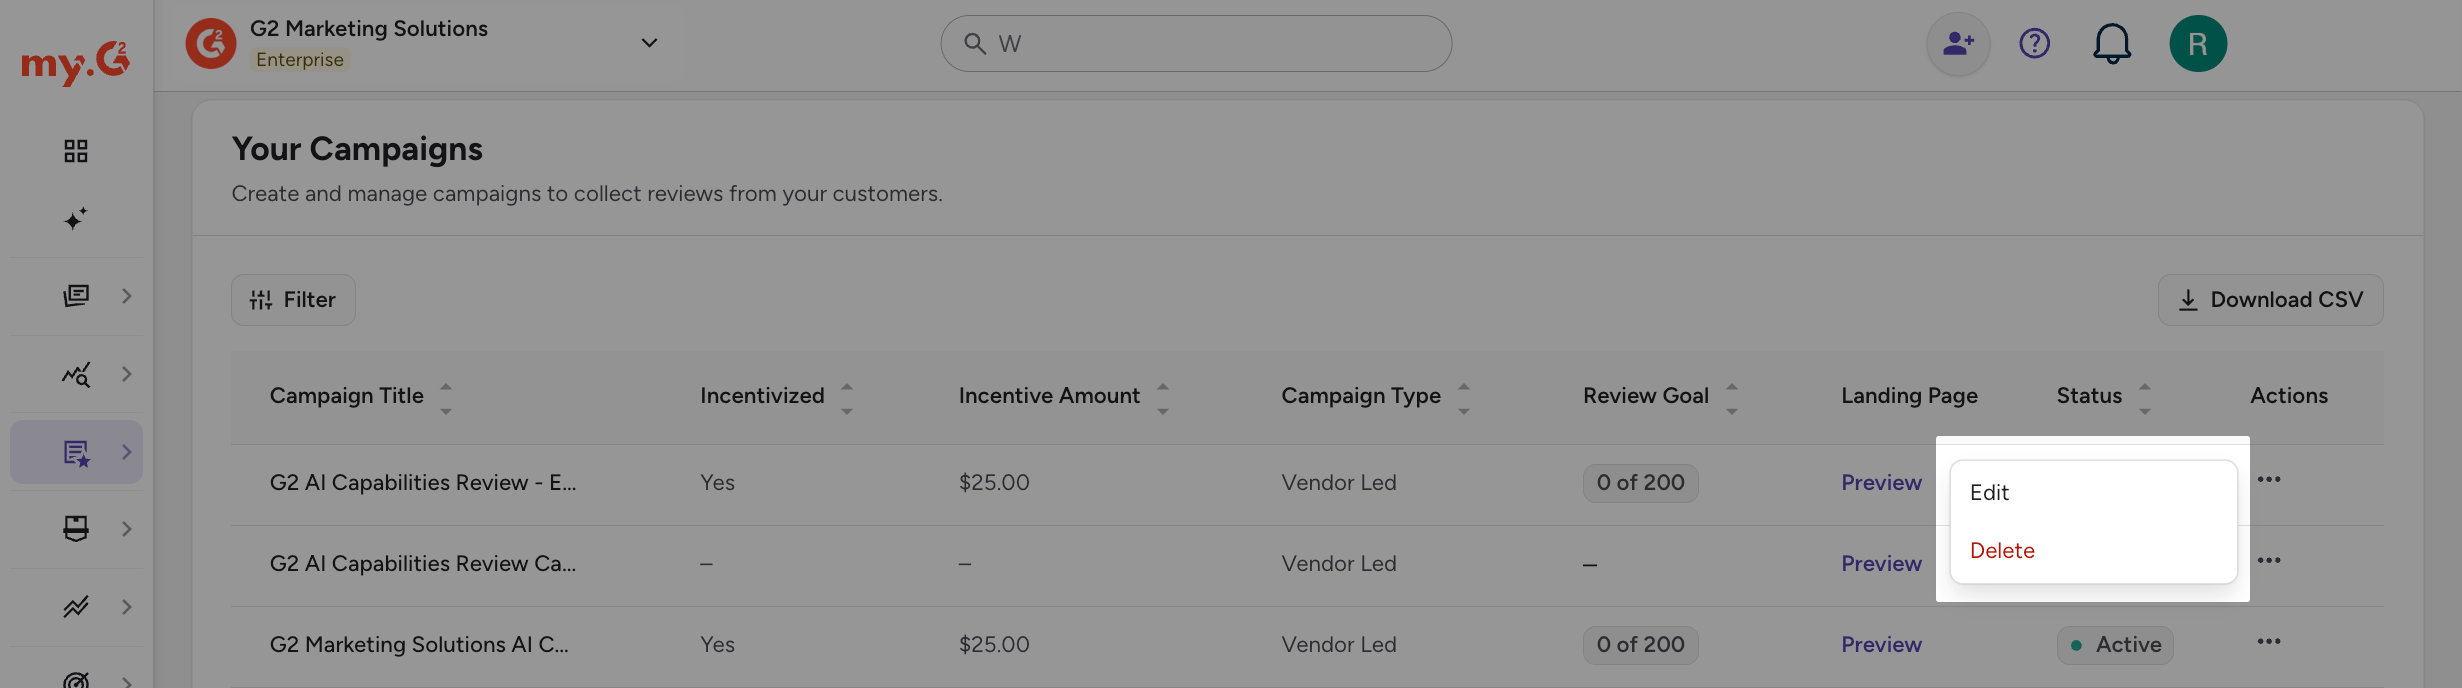
To view a campaign's details, select the actions menu (...) in the Actions column, then select Edit.
The details page shows the campaign's status, the number of total, pending, approved, and rejected campaign reviews, the incentive settings, and recent transactions.
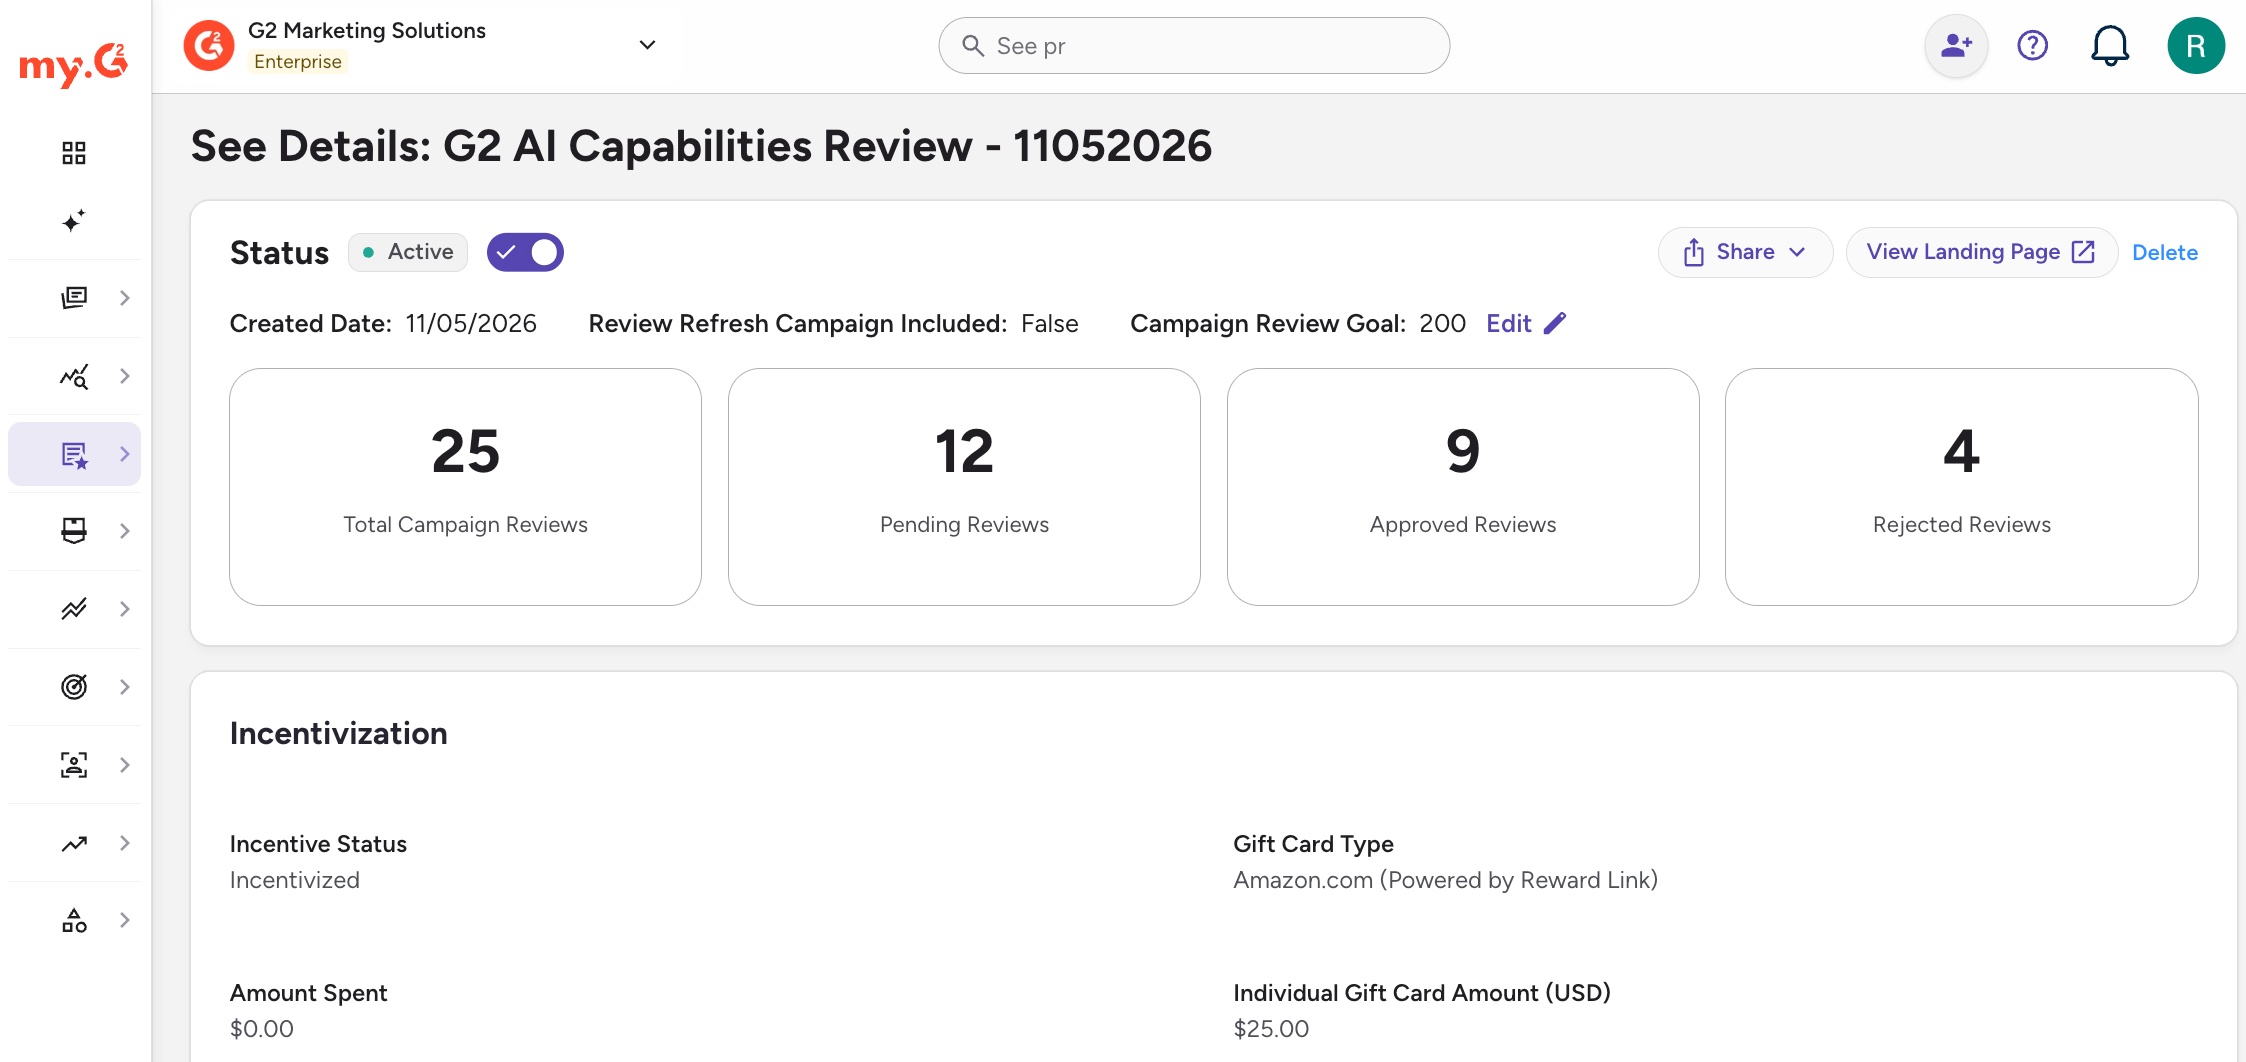
From the details page, you can:
- Select View Landing Page to open the campaign's landing page.
- Select Share to copy the landing page URL or send it from Gmail, Outlook, or Mail.
- Turn off the Status toggle to stop the campaign. The landing page is no longer accessible to visitors. To make it available again, turn the toggle back on.
- Select Delete to permanently delete the campaign.
For more information on managing active campaigns and viewing analytics, refer to the Campaign Dashboard documentation.