- 04 Dec 2024
- 3 Minutes to read
-
DarkLight
Paid Promotions
- Updated on 04 Dec 2024
- 3 Minutes to read
-
DarkLight
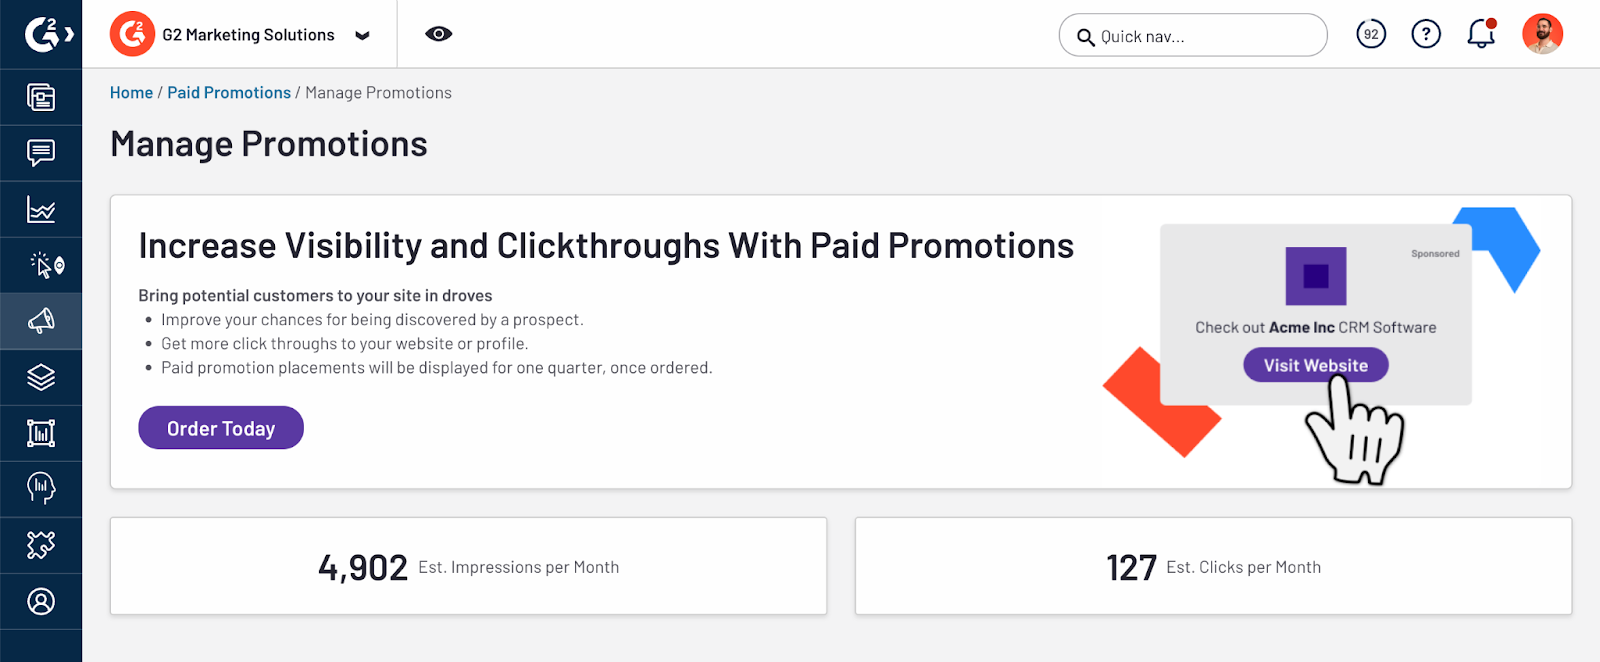
The Paid Promotions tab enables you to configure and manage quarterly ad campaigns for your product across G2.
Basics of Paid Promotions
Where Paid Promotions appear on G2
Your promotion appears between the second and third organic listings on each G2 page that you purchase during the signup process.
You can run a Paid Promotion on:
- Any category page that includes your product.
- Any alternatives page for a competitor in a mutual G2 category.
Duration and inventory
By default, Paid Promotions run for three months at a time. During checkout, you can enable promotions to renewal automatically, which guarantees your spot in future periods.
You also have the option to purchase Paid Promotions for an annual interval at a discounted rate.

Inventory is limited to three products per page. Your promotion will be shown to ⅓ of the visitors.
After the period begins, you can still purchase Paid Promotions. G2 may offer prorated pricing depending on available inventory.
Ad design
By default, Paid Promotions use a standardized ad design, which converts 50% better than custom artwork.
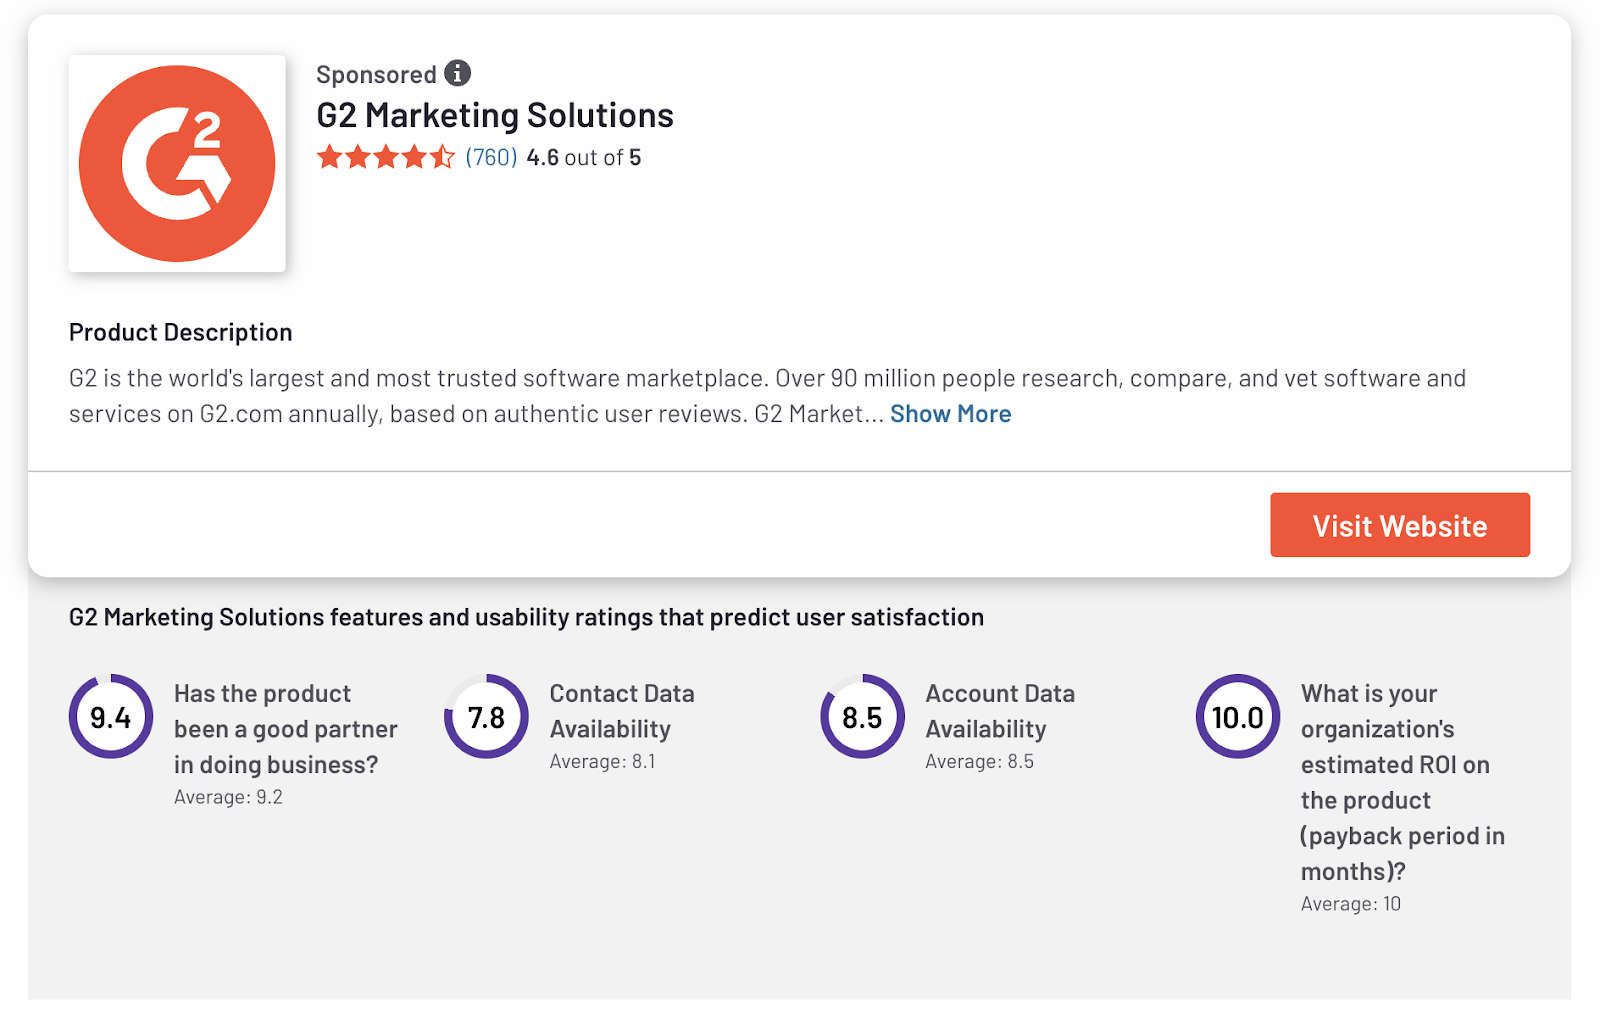
If you choose to upload a custom design during the signup process, your ad must follow G2's Design Specifications & Content Policy.
Custom ad content is subject to approval by G2. You will be notified about content approval status changes via email.
Purchasing Paid Promotions
To sign up for Paid Promotions, go to my.G2, then navigate to Paid Promotions.

1. Choose pages
The Category Placements section lists each of your G2 category pages and the estimated engagement for your promotion.

The Competitors’ Alternatives Placements section lists each of your competitors alongside estimated engagement for your promotion on their G2 Alternatives page.

Select the checkbox for each page you want to purchase. The right sidebar updates with your total spend.
(Optional) 2. Customize your ad
Use the Determine Paid Promotion URL section to enter a Custom URL for clickthroughs on your promotion.
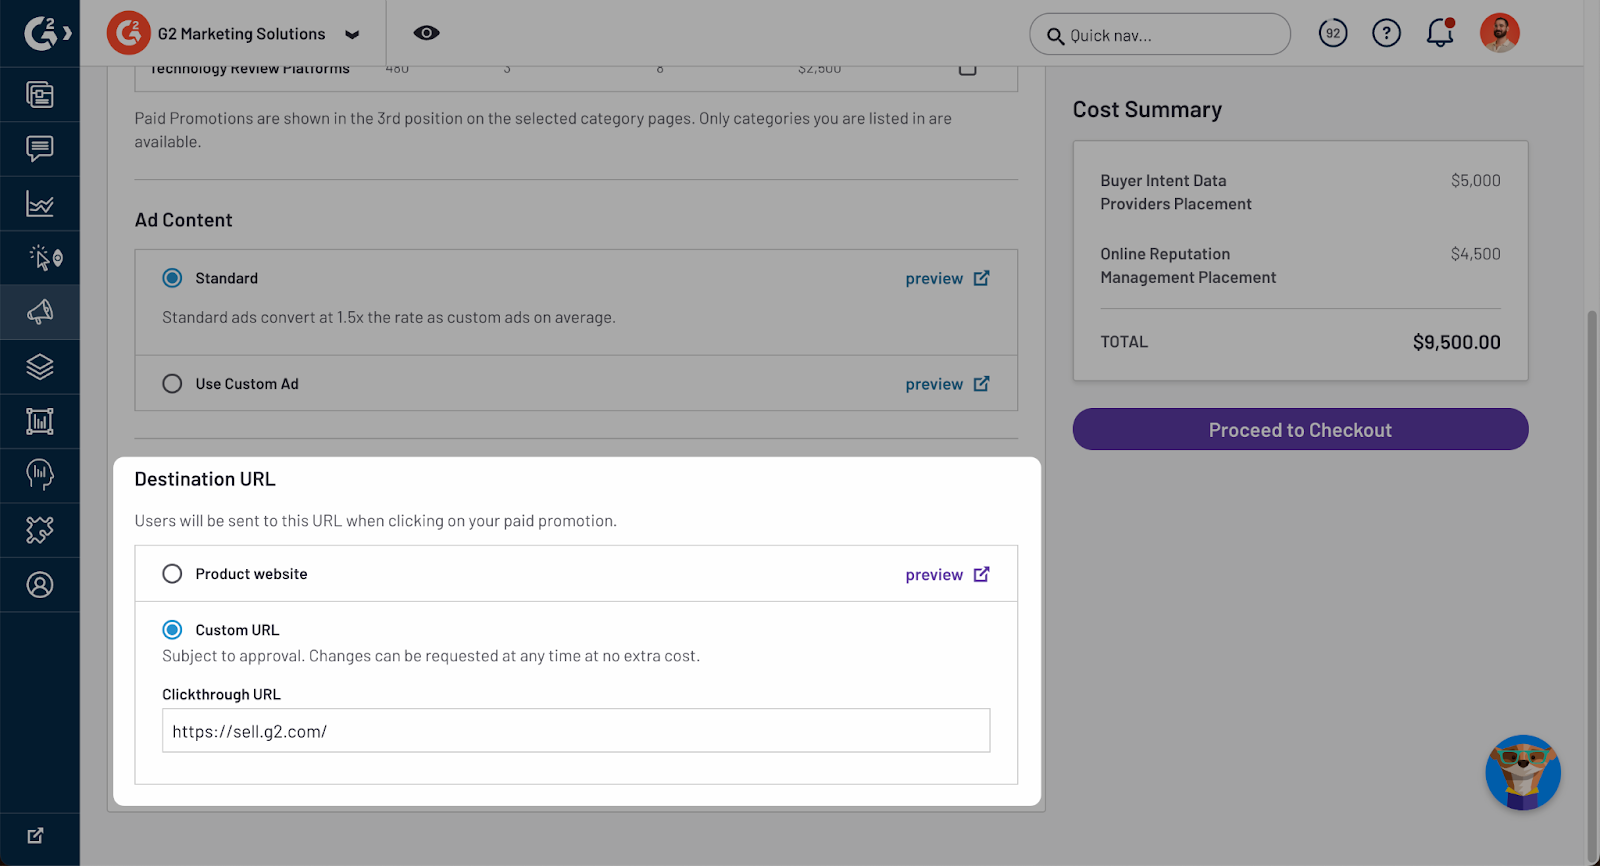
By default, G2 uses the URL listed on your product profile. For more information on configuring UTM parameters for the URL on your G2 profile, refer to the Product Information documentation.
In the Determine Ad Content section, select Upload Custom Ad to select custom artwork from your ad library.

If you have never uploaded custom artwork or want to use different artwork, use the Custom Ad Library section to submit your new ad design for approval.

You can also upload custom artwork after completing the checkout flow and reserving your paid promotion.
While your artwork is in the approval queue, G2 will use the standard ad design for your promotion.
For more information on custom artwork requirements, refer to the Ad design section.
2. Choose payment method and accept terms
Review your total spend in the Cost Summary panel, then select Proceed to Checkout.

From the Checkout page, enter a primary billing contact and choose your payment method.

By default, Paid Promotions are purchased via a credit or debit card. Alternatively, you can select Invoice Me to generate an invoice, which must be paid within 15 days. G2 emails your invoice to your specified Primary Billing Contact.
After entering your payment information, acknowledge and Accept G2’s Paid Promotions terms, then select Commit and activate to complete your purchase.
Managing Paid Promotions
After submitting your Paid Promotions order, you can purchase additional placements, change your destination URL, and configure your ad design from the Manage Paid Promotions page.
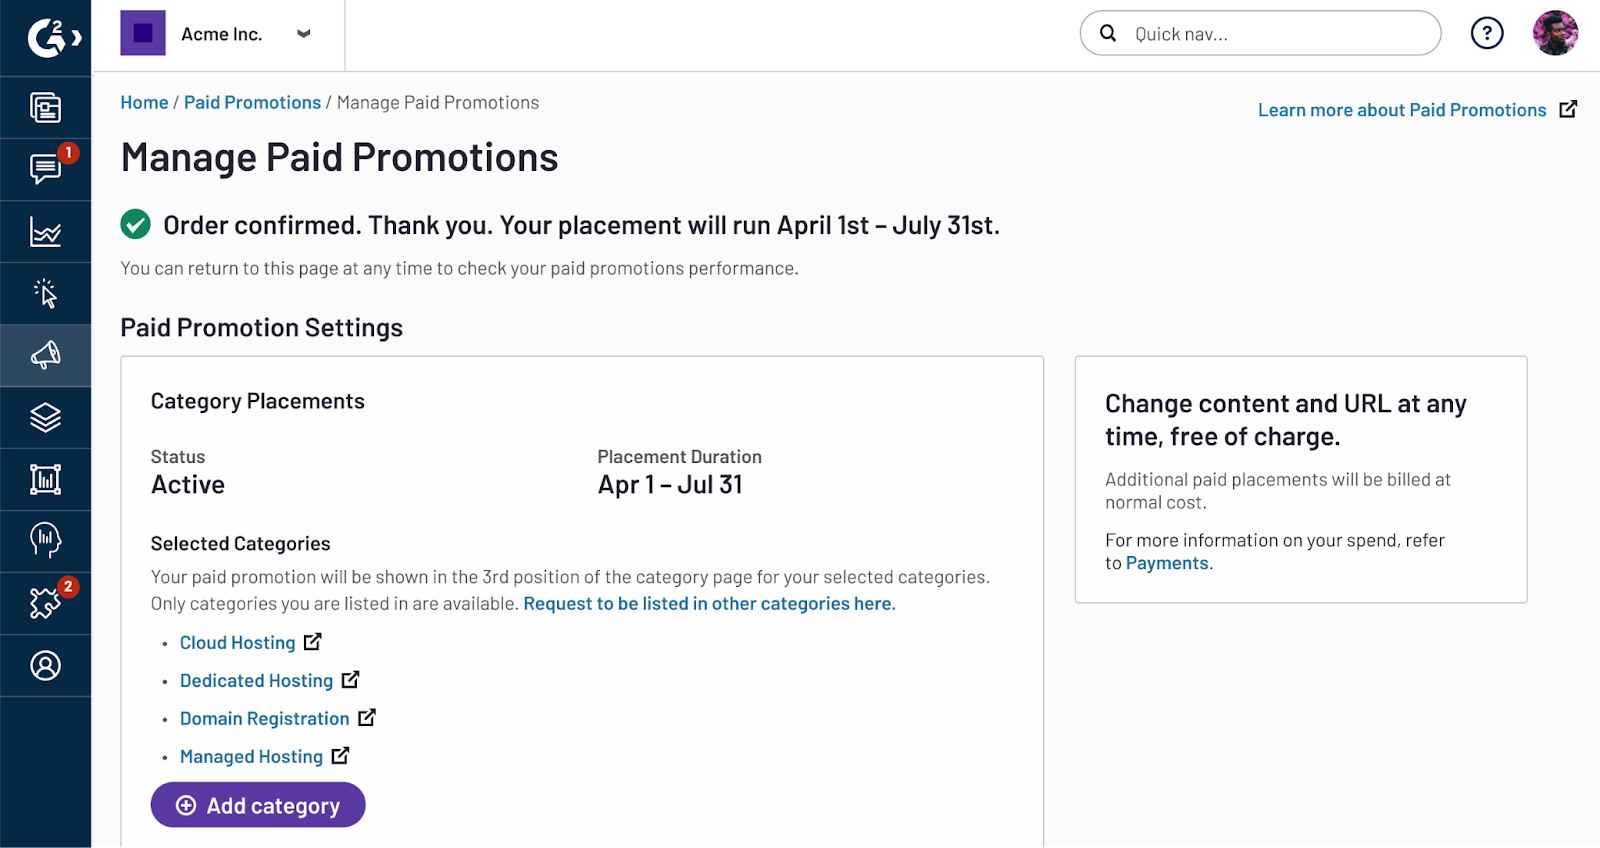
Changes to custom ad content will be subject to G2 approval.
You can also use the Renewal dropdown for each Paid Promotion to guarantee your ad placement for future periods.

G2 offers the following renewal options:
- Let expire: Your Paid Promotion ends after the current interval.
- Renew once: Your Paid Promotion renews for the next interval only.
- Auto-renew: Your Paid Promotion renews indefinitely.
You can change your renewal options at any time. Renews are processed within two business days prior to the start of the next period.
Analytics
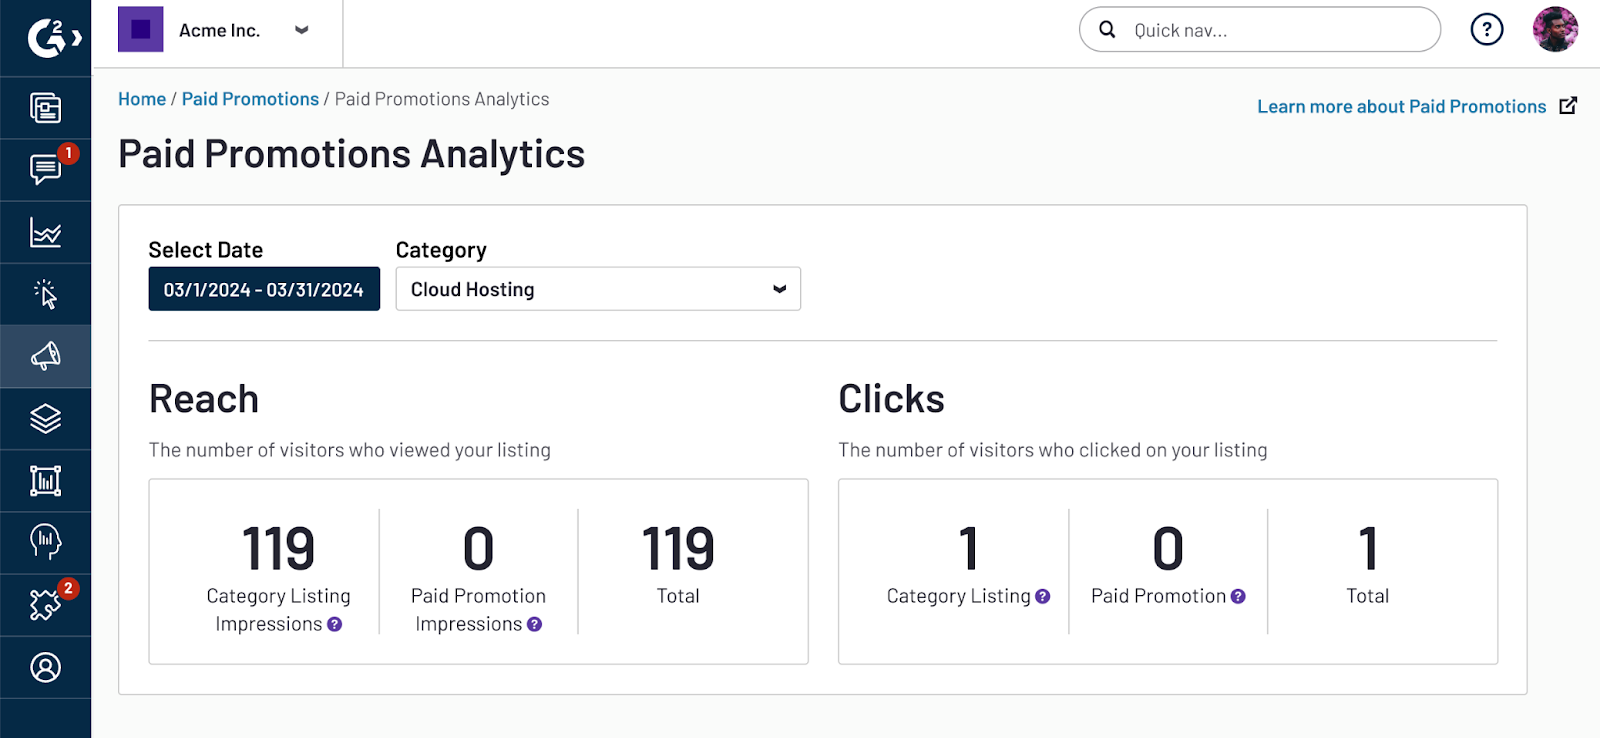
Once your Paid Promotion is live, you can access performance metrics for your Paid Promotions from the Analytics tab.
